Greg's Hangar
Home | Photo Album | Current and Future Projects | Related Links | Contact Me
EAA Bipe cont'd

Here's more on the EAA bipe saga; or, A tale of two bipes....

Well, as you can see from the photos below, I finished the plane...That's the good news. The bad news (and you knew it was coming didn't 'ya?) The bad news is that on it's third flight a bad battery connection caused a major crash. Luckily, no one was hurt but the plane was seriously damaged (along with my pride). The fuse is salvageable but the wings are toast.  Now for the good news (Didn't see that comin' didja?) The good news is that I just bit the bullet and started an entirely new EAA bipe from the kit. This time, I've gone to great lengths to make it better than the first one-Namely, avoiding the "banana" fuse built into the first one... I'm happy to announce that resting on my work bench as I type this, is a perfectly straight fuselage. I'll have this one going in no time!
Sigh....Why do I do this to myself?

This one shouldn't take nearly as long as the first one because all the obstacles that I had to work out in my mind and in actuality are still fresh in my mind. Also, all of the hardware will just switch directly over to this one.
 I won't bore you with details as this one will be exactly like the first one right down to the color. You see, I just never had a chance to get tired of it and it looked soooo pretty in the air!
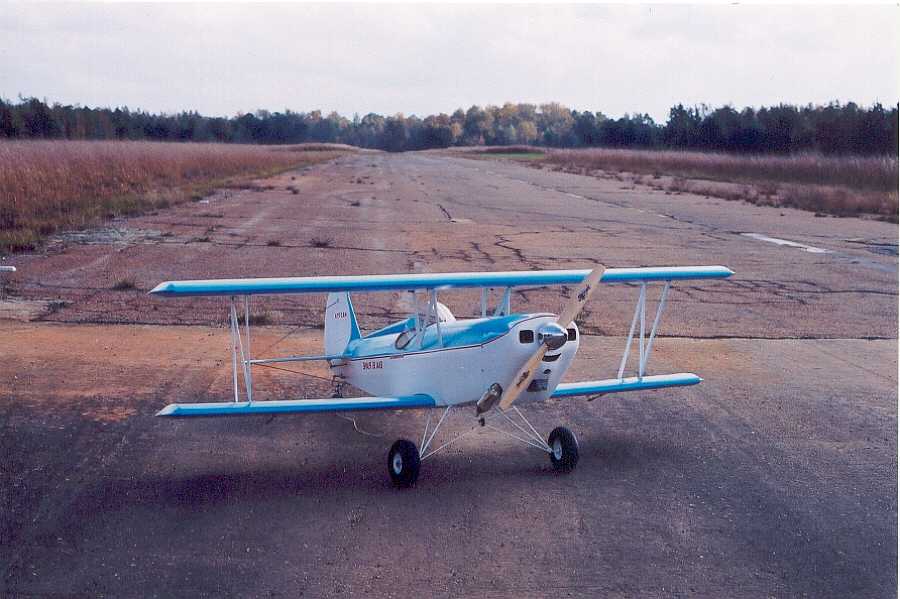
 I promise to get some air shots of it this time.
By the way, I plan to scratchbuild a single wing for the leftover original fuselage and make a nice low-wing sport plane out of it. I think it'll make a nice Sunday flyer, don't you? Hmmm....On the other hand, it did have that banana fuse problem...
UPDATE: 9/30/02-The EAA Bipe II is really coming along quickly. It's totally framed up with the engine mounted. Radio equipment installation is one evening's work away.
 It basically needs covering and painting to be flight ready.
Not bad for two weeks work... 
UPDATE: 10/14/02- Started paint last night. Hopefully I'll finish the base coat today and paint the trim later in the week. At this rate, it'll be finished and ready to fly by the end of the month. I do have to work for a living you know!?
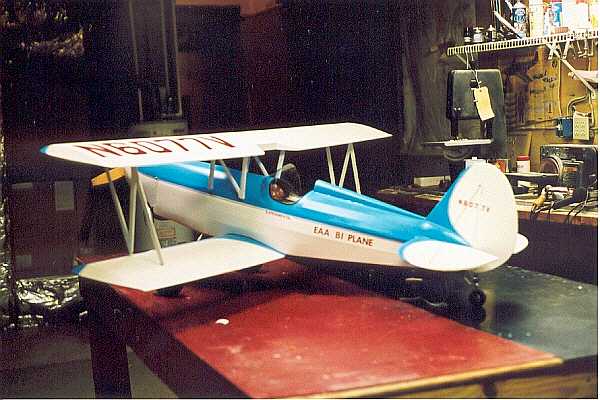
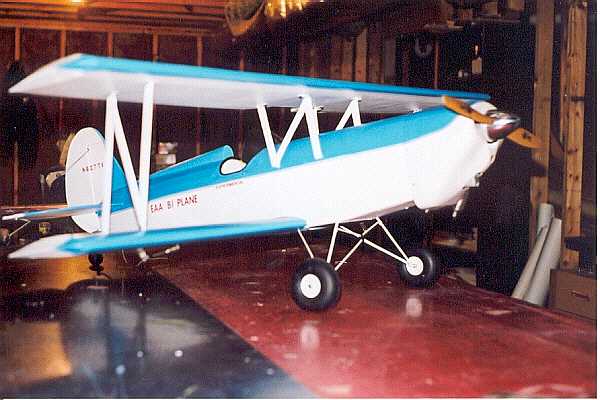
UPDATE; 10/31/02- The Bipe is finished. All it needs now is flying. When the weather cooperates, I'll get her out there for a test hop or two. It looks pretty much identical to the first one except for a slightly lighter shade of blue.  The original one is below, the new one is pictured on the right... Six weeks total build time for this one as opposed to 12 weeks for the original.

rearquarter.jpg

frontquarter.jpg

EAA Bipe #1 (above)- I finally settled on Aerogloss Dope over Solartex fabric  for the finish. The blue trim is a mixture of Curtiss Blue and Swift White for a nice medium to light blue. The base color is pure Swift White.
 Cheers: This was my first attempt at brushing on a finish coat and I was pleasantly surprised at the results. The ease of application, lack of brushmarks and the opacity of the colors make this worth a try if you've been considering it but couldn't quite bring yourself to try it. What I really like is the minimum of masking necessary when using a brush to apply paint. No overspray to be concerned about!
 Jeers: Cleanup is a bit of a mess and the smell could only be appreciated by someone who already has enough brain cells missing to consider being in this hobby to begin with....so, better do this outdoors or in a paintbooth if you're lucky enough to have one (A paintbooth that is. If you don't have an outdoors or a paintbooth....can you say Monokote?)

EAA Bipe #2- Finally got the photos on site. Whaddayathink? Like the color better or not as well as the first one? This time I used dope from a fullscale aircraft supply house. I think it's a little better product than the Aerogloss.

runwayshot.jpg

rearrunway.jpg

frontrunway.jpg

The photos of bipe #1 were a little disappointing in quality but I couldn't wait to update the site. I would have replaced them with some better, hopefully outdoor shots later but it was not to be.

EAA Bipe #1
cockpit.jpg

    Yeah, I know the instrument panel didn't quite fit in this plane but I already had it and besides, it came out of the Phaeton...snif, snif..... and I really loved that plane...snif... This way part of it would have lived on..snif...
Ok, so how's that for an excuse?

EAA Bipe #2- New and improved!
instrumentii.jpg

Here's the instrument panel for the second plane. I made sure it fit this time and I think it looks a little better overall. The process for making it is the same as the other and it's explained in detail in the sidebar on the EAA Bipe Page. This photo was (obviously) taken before the cockpit combing and windsheild were added.